
How to Reuse and Revive Your Coco Coir Media
September 4, 2025
Why Coco Coir Is Ideal for Organic Farming
September 12, 2025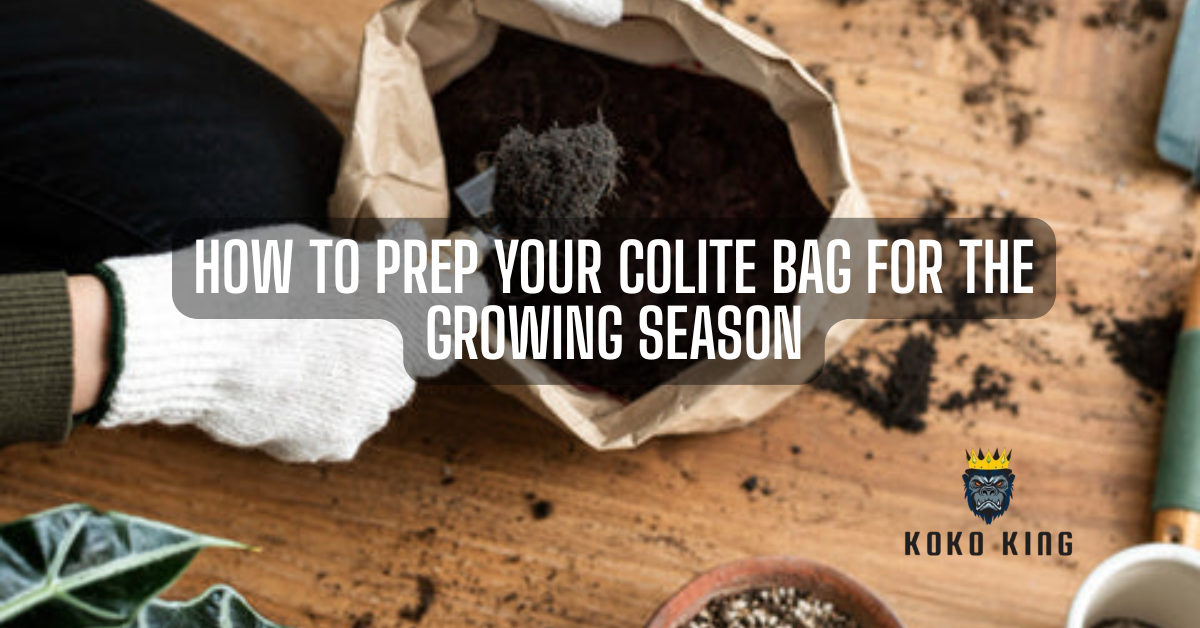
Coco coir products have become a favorite among gardeners across the USA, and Colite Bags are one of the most convenient solutions for commercial growers and home gardeners alike. Made from high-quality coco coir, Colite Bags provide an excellent environment for plant roots, ensuring proper aeration, moisture retention, and drainage. But before you start planting, it’s important to know how to prep your Colite Bag for the growing season. Preparing your grow bag the right way will help your plants establish quickly and thrive throughout the season.
🌱 Step 1: Choose the Right Colite Bag Size
Colite Bags come in different sizes, suitable for crops like tomatoes, peppers, cucumbers, strawberries, and even flowers. When choosing a bag:
- Go for larger bags for heavy-feeding crops like tomatoes.
- Use smaller or medium bags for herbs, leafy greens, and strawberries.
Selecting the right size ensures enough root space for healthy growth.
💧 Step 2: Hydrate the Coco Coir Properly
Colite Bags are delivered in a compressed, dry form. To activate them:
- Place the bag in your growing area.
- Slowly add clean, pH-balanced water.
- Allow the coir to expand and fluff up.
- Break apart clumps gently by hand to ensure even hydration.
Make sure the bag is evenly moist, but not soggy. This will prepare the medium to hold nutrients effectively once you start feeding your plants.
🧪 Step 3: Buffer the Coir for Better Nutrient Uptake
Coco coir naturally contains high levels of potassium and sodium, which can interfere with nutrient absorption if not treated. To buffer your Colite Bag:
- Soak the hydrated coir with a calcium-magnesium (Cal-Mag) solution for 8–24 hours.
- This process replaces excess salts with essential nutrients, making the medium more plant-friendly.
Buffered coir ensures strong root development and reduces the risk of nutrient deficiencies later in the season.
🌿 Step 4: Check pH Levels
For most plants, coco coir performs best at a pH range of 5.5–6.5. After hydrating and buffering, test the runoff water using a pH meter. Adjust if necessary using pH up or down solutions. Maintaining the right pH balance helps roots absorb nutrients efficiently.
🪴 Step 5: Add Nutrients or Amendments
While coco coir provides excellent physical support, it does not contain natural nutrients. Before planting, enrich the medium with:
- A balanced liquid nutrient solution.
- Organic amendments like compost tea, worm castings, or seaweed extract.
This step gives your plants a nutrient boost right from the start.
🌞 Step 6: Position Your Colite Bag Correctly
Once prepped, place your Colite Bag in its growing location. For outdoor gardens, ensure it sits on level ground with good sunlight exposure. For greenhouse or indoor setups, align bags neatly for efficient irrigation and space use. Many growers also cut planting holes in the top of the bag before transplanting seedlings, making the process easy and organized.
✅ Step 7: Set Up Irrigation
Colite Bags work best with drip irrigation systems. Insert drip lines directly into the bag to deliver water and nutrients evenly. Consistent watering prevents stress and ensures steady plant growth throughout the season.
🌟 Final Thoughts
Prepping your Colite Bag correctly is the key to unlocking its full potential. By hydrating, buffering, balancing pH, and enriching the coir with nutrients, you create the perfect growing medium for your plants. Whether you’re a commercial grower or a backyard gardener in the USA, Colite Bags offer a reliable, eco-friendly solution for high yields and healthy crops.
At Koko King, we supply premium Colite Bags, coco cubes, and grow bags designed to make gardening easier and more productive. With proper preparation, your Colite Bag can deliver outstanding results season after season.


